

 en
en  English
 中文简体
中文简体 عربى
عربى
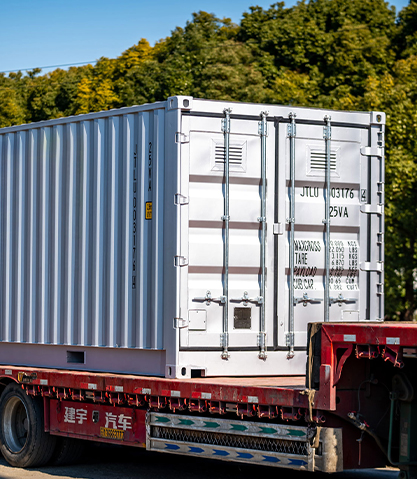
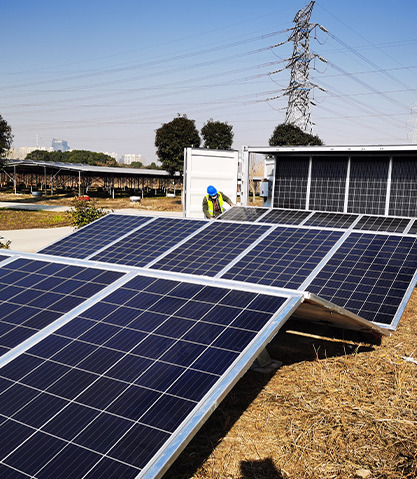
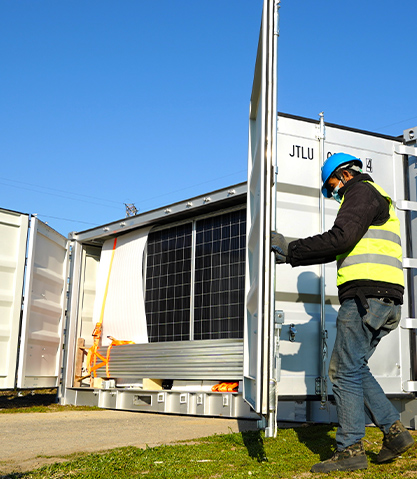
A shipping container home is not a normal house, and installing a conventional home HVAC system into one without first fixing the building envelope produces the kind of discomfort that drives people away from container living. Under direct summer sun, an uninsulated steel box can climb past 50°C inside within a few hours. On a winter night, the same steel skin pulls heat out faster than almost any heater can replace it. Add condensation wherever warm air meets cold metal, and the result is an expensive, unhealthy space.
Working conclusion: The formula that works across climates has four parts: continuous insulation that breaks the steel thermal bridge, an inverter-driven heat pump sized by load calculation, mechanical ventilation with humidity control, and solar generation plus battery storage that lets the whole loop run off-grid. These parts work as one system; skip any one, and the other three become more expensive and less reliable.
Content
- 1 Why Container Homes Overheat and Freeze
- 2 Heating and Cooling Equipment: Side-by-Side Comparison
- 3 Energy Use Before and After Insulation
- 4 How Container-Home Builders Actually Condition Their Builds
- 5 A Six-Step Route to a Comfortable Container Home
- 6 Maintenance and Compliance: Keeping a Container Home Durable and Legal
- 7 Putting the Pieces Together
Why Container Homes Overheat and Freeze
Three physical properties make container homes behave differently from timber-frame buildings:
- Thermal conduction. Corrugated steel has almost no insulation value, roughly R-0.2 for the full wall skin. Every exposed square metre of wall transfers heat in the direction you do not want.
- Air leakage and condensation. Panel seams, door gaskets and corner castings leak. When humid indoor air touches cold steel, moisture condenses, promoting rust and mould that degrade insulation from the inside.
- Low thermal mass. A 20 ft container holds roughly 28 m² of floor area and very little mass to buffer temperature swings, so the interior responds quickly to every change in sun and wind.
For this reason, the installation sequence matters: the envelope must be insulated and sealed before heating and cooling equipment is specified. Oversized equipment short-cycles, wastes energy, and fails early; undersized equipment runs non-stop on the coldest and hottest days. Factory integration removes most of these sequencing risks by matching the envelope, ventilation, heat pump and power supply as one engineered package.
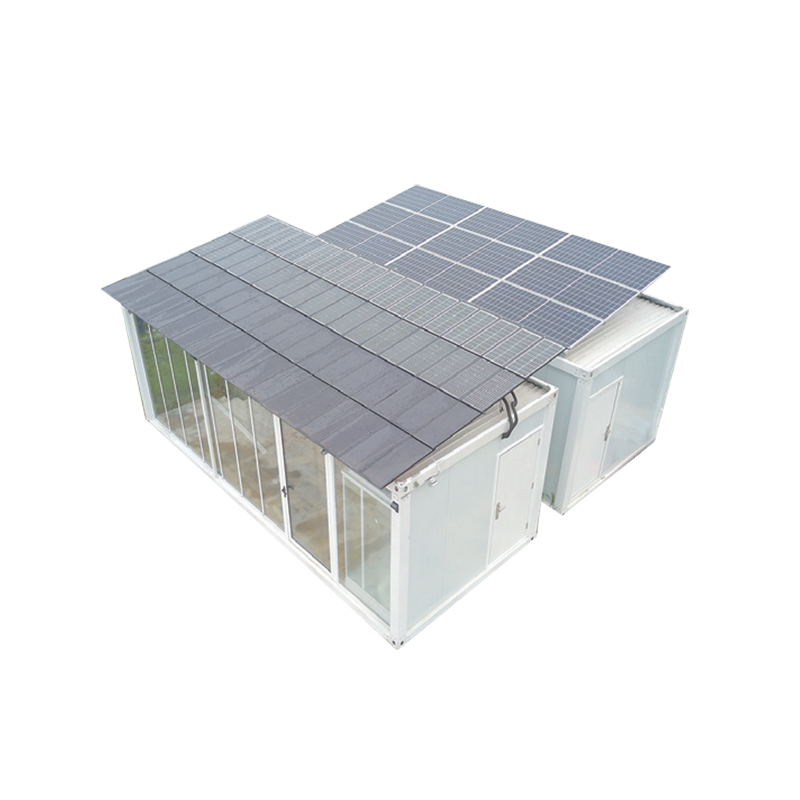 Solar Living Container with Integrated Energy Systems for Off-Grid UseThis factory-integrated living container bundles photovoltaic power, storage, and climate control to eliminate sequencing risks, making it a practical choice for a well-insulated 40 ft container.View Product →
Heating and Cooling Equipment: Side-by-Side Comparison
For a well-insulated 20–40 ft container, the realistic choices are a mini-split heat pump, a PTAC unit, a window AC with resistance heating, or a wood/pellet stove. Their trade-offs matter more than the sticker price.
The mini-split dominates because it handles both heating and cooling at high efficiency with a compressor that modulates between roughly 30% and 100% output. That partial-load behaviour matters in a small space, and its low continuous draw of 300–1,200 W is what makes battery storage practical. For applications that also need to keep food, medicine or equipment cold, a solar cooling container follows the same architecture: photovoltaic generation feeds a battery, and the battery powers the cooling system without grid support.
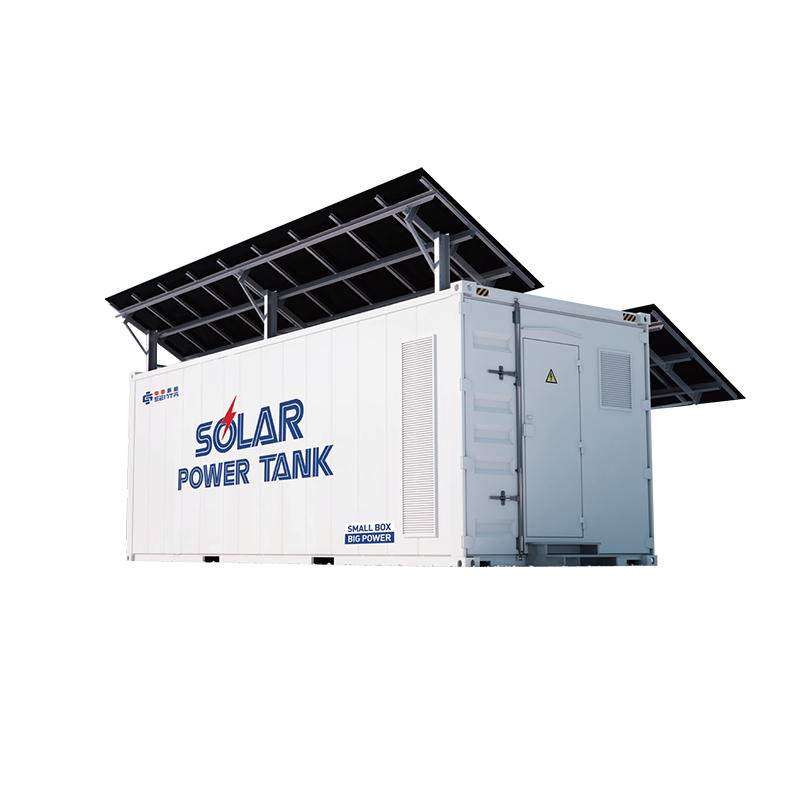 Solar Cooling Container for Off-Grid Cold Storage ApplicationsPairing photovoltaic generation with battery-backed cooling, this unit addresses high energy consumption in cold storage and supports battery storage practicality for small spaces.View Product →
Energy Use Before and After Insulation
The most persuasive number in container-home design is monthly kilowatt-hours. The chart below compares simulated cooling electricity use for an identical 20 ft container with and without an insulated envelope in a hot-summer climate.
Across the five-month cooling season, the uninsulated shell uses roughly 1,900 kWh; the insulated shell about 880 kWh, a 54% reduction. This single lever shrinks the required solar array, battery capacity, and heat pump size at once. Insulation is the cheapest battery a container-home owner can buy.
How Container-Home Builders Actually Condition Their Builds
Project reports and owner-builder discussions cluster around a small set of strategies. The distribution below reflects the approximate share of primary climate-control approaches.
The dominance of mini-split heat pumps is not a fashion choice. A modern inverter unit keeps a coefficient of performance above 2.5 even at −10°C, and it cools with partial-load efficiency that window units cannot approach. In a container home, where every extra watt either raises the electricity bill or consumes battery capacity, that seasonal efficiency is decisive.
A Six-Step Route to a Comfortable Container Home
Record local peak temperatures, solar path, wind exposure and humidity. These numbers determine insulation thickness, equipment size, and array design.
Apply closed-cell spray foam or rigid XPS panels with taped joints. Target an envelope below 0.3 air changes per hour before adding mechanical ventilation.
Seal the warm side of the insulation and fit a 150–250 CFM heat/energy-recovery ventilator to expel humidity without losing conditioned air.
Use a Manual J-style load calculation rather than square footage alone. A 9,000–12,000 BTU inverter mini-split covers most insulated 20–40 ft containers.
Size the array from the heat pump's continuous draw and the ventilation load. A 3–5 kW array with a 5–10 kWh battery bank covers most climates; a self-provided power supply layout treats solar and storage as the primary source, not a backup.
Measure consumption and production for one full season. Adjust heat-pump settings and battery charge profiles based on real data rather than assumptions.
When the required battery capacity exceeds 10 kWh, a battery ESS container or factory-integrated unit removes most of the design effort. The storage system arrives matched to the climate-control load, so each part of the chain is verified before it reaches the site.
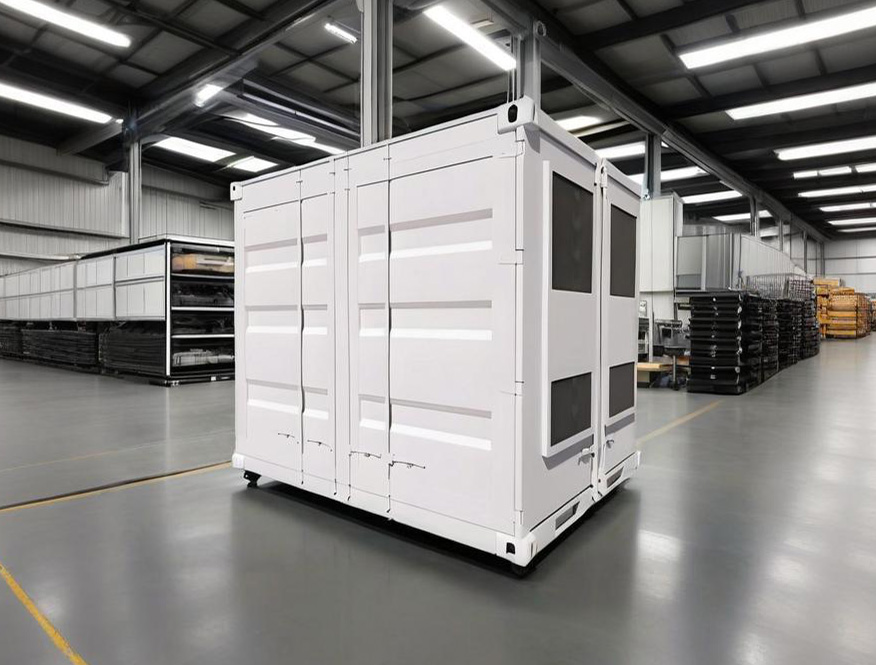 Battery ESS Container for Peak Shaving and Backup PowerWith modular capacity options and a robust IP67-rated design, this storage container simplifies system design when battery needs exceed 10 kWh, supporting off-grid and grid-interactive setups.View Product →
Maintenance and Compliance: Keeping a Container Home Durable and Legal
Seasonal maintenance that actually matters
- Inspect the envelope twice a year. Re-coat rust spots on exterior steel, reseal door gaskets, and check roof seams for water entry.
- Clean heat-pump filters every 2–4 weeks in dusty or coastal environments. A blocked filter raises energy draw by 10–15 percent.
- Maintain battery temperature. Lithium batteries should operate between 10 and 30°C. In an unconditioned enclosure, add passive ventilation or a small DC fan.
- Clean ERV/HRV cores every six months to keep ventilation rates at design levels.
Compliance notes for container dwellings
Many jurisdictions classify a container home as a temporary structure, an accessory dwelling unit, or a manufactured building, and each classification brings different permit requirements. The common minimums are an electrical permit for the PV and battery system, a mechanical permit for the heat pump and ventilation equipment, and site approval for the foundation and setback. Wire in accordance with the local electrical code (NEC/NFPA 70 in most of the US), mount disconnects within sight of the equipment, and confirm that roof and wall penetrations for the mini-split lineset are sealed against both water and vermin. Building officials generally want to see the insulation and vapour barrier sequence documented, so keep photos and material data sheets from the installation.
Putting the Pieces Together
Heating and cooling a shipping container home is not complicated once the physics are respected. The steel box will never be comfortable on its own; the equipment only performs well after the envelope, ventilation, and energy supply are aligned. The builders who succeed treat climate control as one integrated energy system rather than a list of parts.
That integration is also what makes solar-powered container living viable in practice, and it explains why factory-built solar living and cooling containers are becoming the preferred starting point for off-grid and remote projects. If you plan carefully, size honestly, and maintain the components, a container home can be comfortably cool in summer, warm in winter, and free from grid dependence at the same time.
For a deeper look at the energy loop behind these systems, see our analysis of solar-powered shipping containers for sustainable living.
