

 en
en  English
 中文简体
中文简体 عربى
عربى
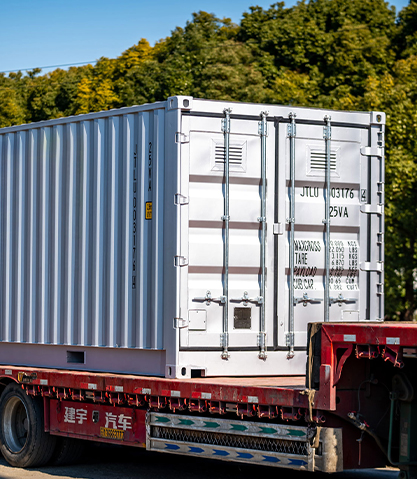
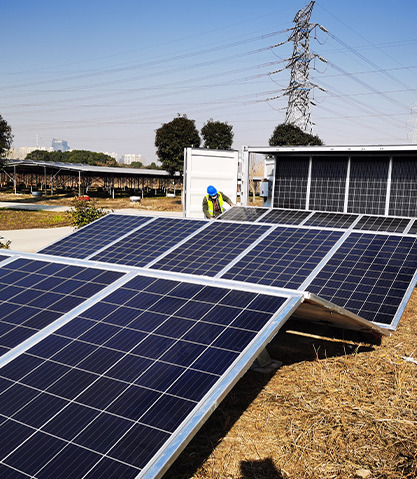
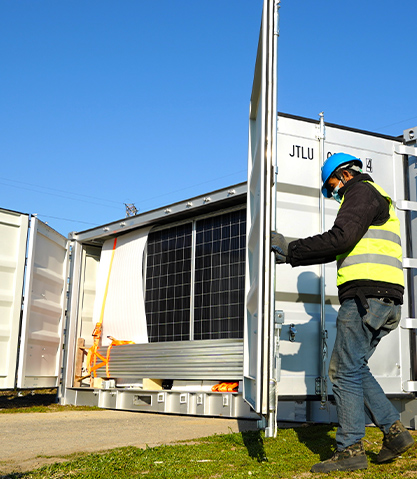
A 40 ft high cube sealed up in August will read around 55°C on its sun-facing steel wall while the shaded wall sits near 30°C. Twelve hours later that same panel becomes the coldest surface in the room, often several degrees below the indoor air temperature. Screw mineral wool straight against that steel and you have built a condensation trap: the wool touches a surface that repeatedly drops below the dew point, and every corrugation rib behind it stays a thermal bridge.
Insulating a shipping container home works when you treat the steel as the problem rather than as the surface you hang insulation on. The sequence that survives real weather is: bond and seal to the steel, break every bridge, then add R-value on top. Get that order wrong and the most expensive material in the build underperforms within two winters.
Content
- 1 The Short Answer: Seal the Steel, Break the Bridge, Then Add R-Value
- 2 Why Container Steel Breaks Normal Insulation Rules
- 3 Comparing Insulation Options for Container Homes
- 4 The Metric Most Builders Ignore: Interior Surface Temperature
- 5 Where the Heat Actually Enters a Container Home
- 6 Insulating a Container Home: Step-by-Step
- 7 Climate-Zone Targets and Payback
- 8 Maintenance, Fire Safety and Compliance
The Short Answer: Seal the Steel, Break the Bridge, Then Add R-Value
Specify the assembly in this order: clean and prime the shell, apply 50-75 mm of closed-cell spray foam directly to the steel so one layer acts as air barrier, vapour barrier and thermal break, add rigid board on top only if the climate target demands it, then finish with a ventilated rain screen or a reflective exterior coating so solar gain never reaches the steel in the first place. For most inhabited climates, walls land between R-13 and R-20 and the roof between R-20 and R-30.
Why Container Steel Breaks Normal Insulation Rules
A container is a load-bearing steel box, not a stud wall with sheathing. Four properties change the entire specification.
Thermal bridging dominates the losses
Corten steel conducts at roughly 50 W/m·K; mineral wool conducts at 0.035-0.04 W/m·K. That is more than a thousand to one, and the wall ribs repeat every 200-300 mm. Insulation fitted between ribs without a continuous break over them can deliver 20-30% less than its rated R-value.
Surface temperature drives condensation
A 1.6-2 mm steel sheet has almost no thermal resistance and little useful mass, so its inner face tracks the weather within minutes. When that face sits below the dew point, moisture forms behind the insulation where you cannot see it until the framing has already stained.
Vapour drive runs in opposite directions
In a hot-humid climate, vapour moves from outside in, so the retarder belongs toward the hot side. In a cold climate it moves from inside out. The same shell needs opposite details, which is why copied forum builds fail in the wrong state.
Floor and roof are the weak planes
A standard container floor is 28 mm marine plywood over steel cross members with bare steel underneath, and the roof absorbs the highest solar load of any surface. Both planes need treatment from the outside as well as the inside.
Comparing Insulation Options for Container Homes
The Metric Most Builders Ignore: Interior Surface Temperature
At 0°C outside, 22°C inside and 60% relative humidity, the dew point is 13.9°C. Any interior surface colder than that line grows mould. The comparison below uses those exact conditions and explains why two assemblies with similar R-values behave nothing alike.
Only the last two columns stay above the dew point, and both depend on an airtight layer bonded or taped to the metal. Thickness alone does not save you; contact and continuity do.
Where the Heat Actually Enters a Container Home
- Roof and ceiling plane: 38%
- Walls and ribs: 27%
- Doors, windows and cut openings: 13%
- Floor and underside: 12%
- Remaining thermal bridges: 10%
The roof is the largest single gain, which is why an exterior reflective coating or a ventilated over-roof usually returns more per dollar than another 25 mm of interior insulation. Even after the walls are filled, unbroken ribs and door frames still carry roughly a tenth of the load, and that share is what most DIY builds leave in place.
Insulating a Container Home: Step-by-Step
- Strip and inspect. Remove the original plywood floor, check the roof for rust blooms and pinholes, treat bare metal with a zinc-rich primer, and re-seal floor seams before anything else goes in.
- Plan the thermal break. Fix 25 mm polyiso strips, composite spacers or purpose-made gaskets between the steel and every stud, batten or furring channel. Skipping this halves the value of the cavity insulation.
- Frame the service cavity. Use 50-75 mm light-gauge steel or timber framing set 25 mm off the shell so wiring and plumbing run without piercing the airtight layer.
- Apply the airtight layer. Closed-cell foam at 50 mm minimum bonds to the steel and closes the rib cavities. Two-part kits suit a single container; professional rigs suit multi-unit builds.
- Add a second layer where needed. Rigid PIR board over the first layer with staggered, taped joints is the cheapest route to R-20 walls in cold zones.
- Treat the floor from both sides. Insulate between battens or place a closed-cell layer under a new subfloor, and insulate the underside where the container is raised off the ground.
- Handle roof and openings. Roof first, using coating, shading or a ventilated over-roof, then rebuild door and window openings with steel-framed, thermally broken assemblies.
- Ventilate deliberately. Fit an HRV or ERV sized to the volume, target 0.35 air changes per hour, hold indoor relative humidity under 60%, then verify with a thermal camera and a blower door test.
If you would rather buy the envelope and the power system as one delivered unit instead of retrofitting both, a factory-built solar living container arrives with insulation, generation and control gear already integrated and tested together.
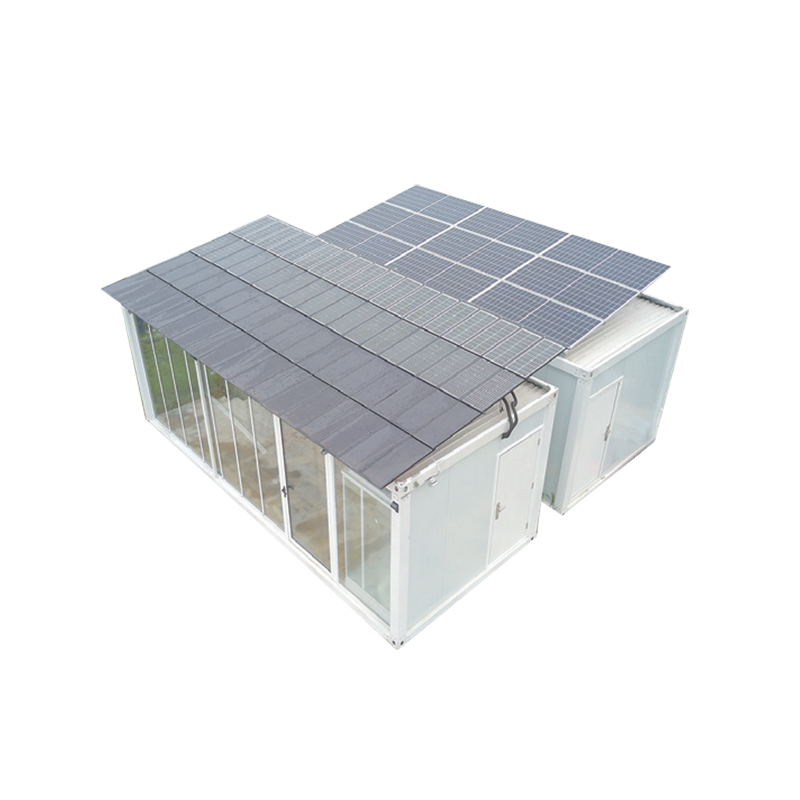 Solar Living ContainerThe offshore rapid assembly house, The so-called"offshore" means it does not need the input external resources and can independently provide various energy needs, incl...View Product →
Climate-Zone Targets and Payback
Insulation is the cheapest generating asset on an off-grid container home. A 5 kW diesel set burning 1.5 L/h for six hours a day consumes roughly 3,300 litres a year; cutting the heating or cooling load by 40% returns about $1,200-$1,600 annually at $1.20/L, which covers a $3,000 spray foam package in roughly two years. On a site with no grid at all, pairing the improved envelope with a self-provided power supply removes most of the fuel logistics as well as the noise.
Maintenance, Fire Safety and Compliance
- Fire: foam plastic insulation needs an interior thermal barrier, typically a 15-minute rated board tested to ASTM E84 Class A or B. Many jurisdictions insist on gypsum board over spray foam regardless of what the product label claims.
- Structure: never cut corner castings. Every opening needs a welded or bolted steel frame, and once you modify the shell the original ISO 1496 certification is void, so confirm local container and park-model rules before you cut.
- Moisture: run a thermal camera over each wall after the first full heating or cooling season. Look for cool bands at the ribs, rust streaks under foam edges, and soft spots in the floor.
- Exterior: recoat reflective finishes every five to seven years and keep the underside coating intact, because the floor is the second most common failure point after the roof.
- Air quality: hold indoor relative humidity below 60%, filter supply air, and service ventilation filters annually.
In hot climates the cooling load you saved with insulation is only useful if the equipment matches it. A dedicated solar cooling container pairs a sealed, insulated envelope with its own generation and temperature control, which keeps the plant sized to the real load rather than to the worst-case guess.
 Solar Cooling ContainerSolar Cooling Container improves system efficiency, energy supply, high efficiency and flexibility, environmental protection and energy saving. Application scenario: T...View Product →
The rule to remember is sequence, not brand: bond to the steel, break every bridge, insulate on top, then ventilate and verify. Builders who get the first two steps right can hold 22°C and 50% humidity in a −10°C January or a 40°C August with a far smaller heat pump than the container's volume would suggest. If you want the envelope and the energy system specified in one package, it is worth seeing how solar-powered shipping containers for sustainable living are put together before you order materials.
